Budget VPS plans can be excellent if you choose based on workload, not only monthly price. This guide helps you select a cheap NVMe VPS in Romania while keeping enough headroom for real traffic.
What to evaluate before price
- Storage type: NVMe changes responsiveness for app and database workloads.
- CPU generation and contention risk under peak usage.
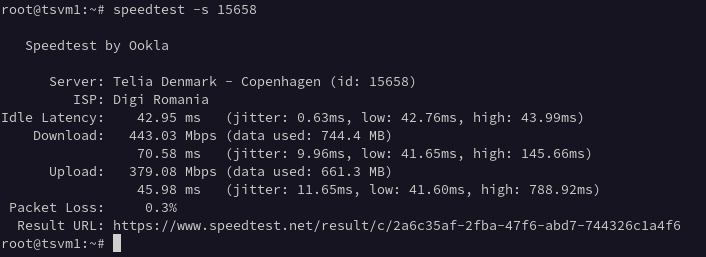
- Local latency for your user base.
- Clear, simple upgrade path when demand increases.
Common low-cost mistakes
- Buying minimum RAM for production WordPress.
- Ignoring background jobs and cron impact.
- No monitoring, then upgrading only after incidents.
- Over-buying from day one without validated demand.
Plan sizing pattern that works
Start with 1 GB only for lean and predictable workloads. Use 2 GB as default for most production web apps. Move to 4 GB when real monitoring data confirms sustained pressure.
- Entry: TSM1NVME10
- Balanced: TSM2NVME20
- Scale: TSV2NVME40 or TSM4NVME40
Validation checklist before launch
free -m
vmstat 1 5
iostat -x 1 3
curl -I https://your-domain
- Keep RAM below saturation during normal traffic.
- Watch swap behavior during updates and backup windows.
- Validate response time from user-relevant regions.
Related guides
FAQ
What is the best cheap VPS plan for starting a project?
For many production workloads, 2 GB is the safest start. Use 1 GB only when the stack is intentionally minimal.
Is NVMe worth it on budget plans?
Yes. NVMe improves I/O-heavy tasks like package installs, cache warmups, and database operations.
How do I avoid overpaying?
Start with measured requirements, monitor usage weekly, and scale only when metrics confirm sustained pressure.
Leave a Reply